
let’s build a smoothing-plane. this smoothing-plane, in fact…
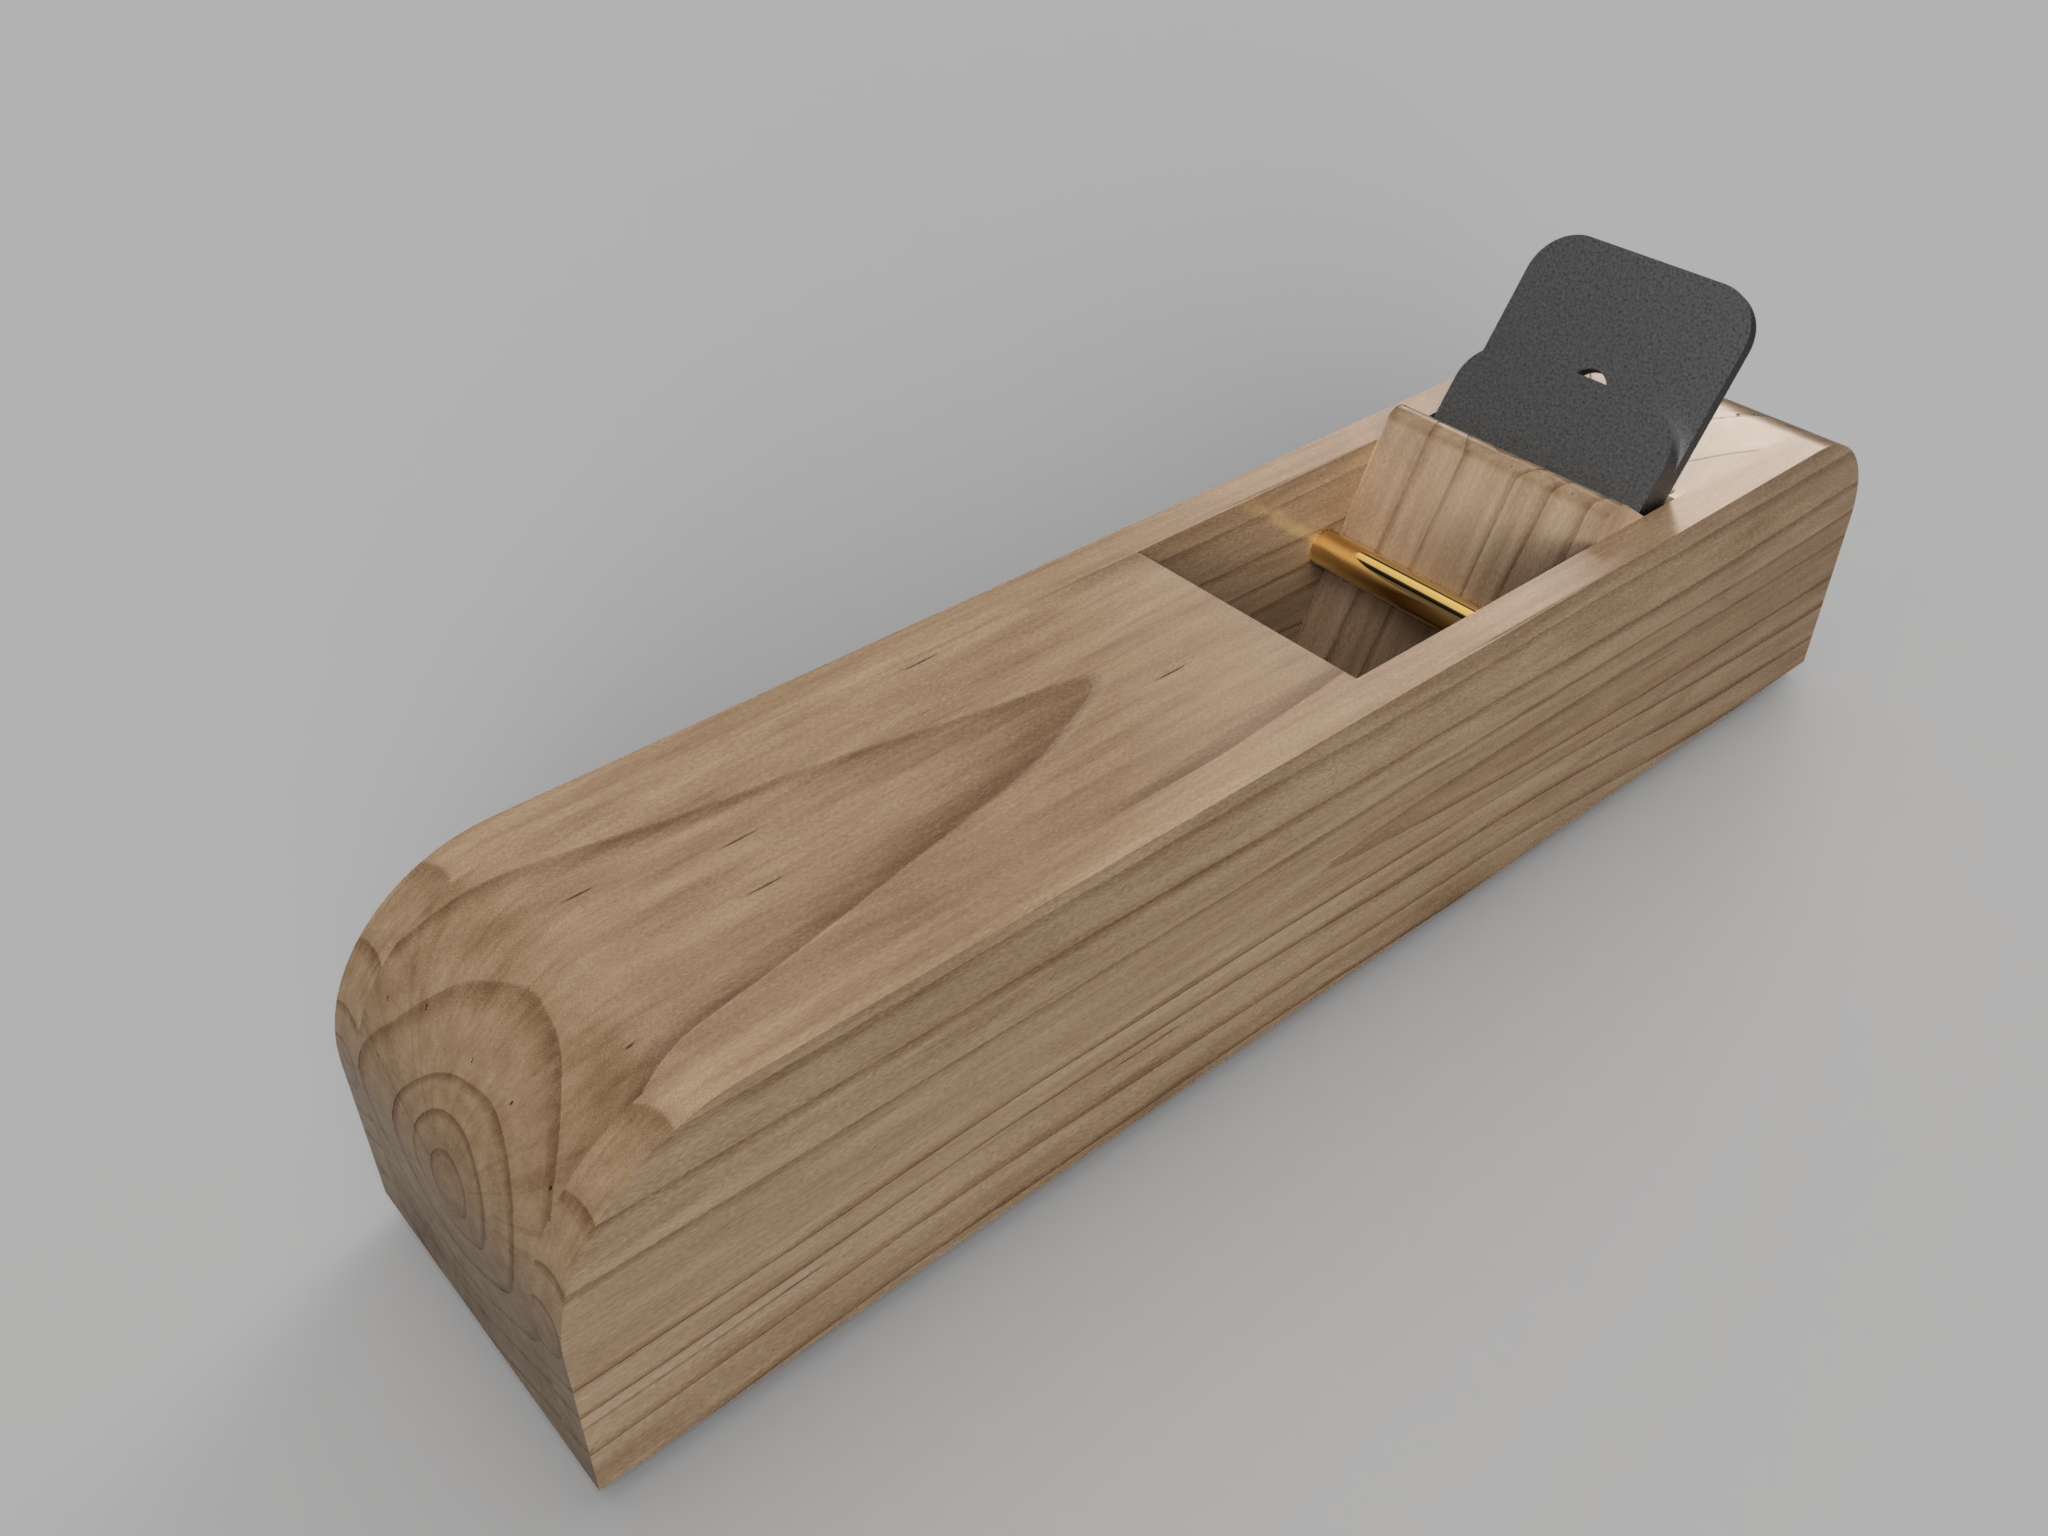
there are many, many, many ways to do this but i believe this is the simplest. a few things before we begin. this is a plane design based on a traditional smoothing-plane but it’s longer than is typical of a western plane for extra stability and the iron is much closer to the tail to, again, increase stability when planing. it can be used either push or pull-style without modifying the design in any way.
it’s made to take a standard stanley 4 iron and chip-breaker with its thumb-screw. if you’re building it with a different iron or chip-breaker, you’ll have to shift the dimensions to compensate but i have specifically done it with this one because it’s so easy to find and many beginners will be able to pick one up for a few dollars at a flea-market – all you need is a dead old plane to grab the parts from and, if the plane is dead, anyway, you might get that for less than five bucks. if you go to ebay, you’ll be able to find the pair for about $10/15 pretty-much anywhere in the world and, assuming you have a few small scraps of hardwood, that’s the total cost for the project.
what to build it from is a matter of intense discussion, debate and hate in the woodworking community. the simple answer is that you can build a plane from any wood. the complicated answer is that you shouldn’t build it from anything soft but you can certainly do it – the plane just won’t last very long before it starts to cause problems and you’ll need to make a new one. but if you’re just starting out that might not be a bad thing because it’s cheap and gives you extra practice.
i suggest a dense hardwood like hard-maple. you can certainly use something relatively-hard and solid like white-oak, beech, ash, cherry or walnut but remember this is a tool and the harder the wood the longer it will last and the better it will perform for you. if you build it from pine, you’re unlikely to be very happy. if you build it from an expensive, ultra-hard wood, it will probably work well but it won’t really be notably different from just using hard-maple so it might not be worth the money. it’s your plane, though, and i’ve built a few from really nice offcuts simply because they look beautiful and it’s a joy to have a jarrah or spotted-gum plane in the shop – both work really well but they’re not much different from all the maple ones i use more regularly.
let’s talk about length and purpose. this is a smoothing-plane. if you regularly smooth very small or large pieces, you might want a slightly shorter or longer plane but this should be good for general use. if you’re looking for a jack or jointer, you might want something a lot larger (especially for the second). if you’re going to change the length, i suggest changing the toe more than the heel – the longer leading-edge will help stabilize the plane. the same design will work for much longer planes but you may also want a wider iron (60-70mm) for serious jointing.
what’s a smoothing-plane for? well, you start with a jack or fore and get the board approximately flat and level. then you use a jointer to make it really flat and level. with those two operations done, the smoother will make the surface gentle to touch and ready for finish. it’s the third plane but that doesn’t mean it’s any less-important than the other two. the jack/fore can be very approximate. it doesn’t have to be well-made or setup. the jointer does need to be more accurate but the smoother is the one that gives the wood its final shape and texture so it should be as close to perfect as you can manage. so if you’re going to get a cheap jack and use it for both the fore and jointing at first, this is the plane you want to make and dial-in to get the details right on your work.
why a laminated, pinned smoother rather than something more traditional? there’s one very simple reason – it’s much easier to build and the result is exactly the same on the wood. the board you’re working on doesn’t know how long you spent on your plane or how traditional-looking it is. this takes far less effort, time and skill and you get the same effect from the tool so that’s a win in my books.
why the 55-degree angle? you can pick any angle for the iron you like but i suggest a 55-degrees. this allows you to plane much more difficult, changing grain than a standard 45-degree angle. and it means you can put a back-bevel on your iron if you need to plane against the grain – a 10/15-degree back-bevel will give you an effective cutting-angle of 65/70-degrees, realistically a scraper, which can plane in any direction on almost any piece of wood without tearout. in its standard 55-degree configuration, you’ll almost never find a board you can’t plane without getting serious tearout and i suspect you’ll be happier – this is partly to compensate for the fact that a wooden plane is lighter than a metal-body plane and more likely to skip unless you have a lot of pressure down on it while you’re using it – which is actually harder on the same bench because the plane is physically taller when you use it than an equivalent metal, stanley/bailey-style with a tote-and-knob design.
for the same reason, this plane is larger than a stanley 4 (close to a 5, in fact) – the larger body will give you more mass, more momentum and make it easier to push through difficult or dense wood. the extra size doesn’t have the same exhaustion potential as a big metal plane used for the same purpose because, comparatively-speaking, wood is light.
enough talking about it. let’s build it. if this is your first time building a plane, be confident. this design is easy and it will work fine even if you’re not completely precise with all your measurements. there’s lots of extra room to adjust.
first you need to get your materials together. you’ll need some wood, material for a pin and glue. we’ve already talked about the wood but let’s get more specific. for the center section, you need a block of wood you can get at least 350x64x54mm from (the toe, heel and wedge). the extra length on the toe is to make sure you have room to adjust after gluing. the plane itself will be 310mm long. for glue, use pva. i mean, you can use whatever you want but pva works well and is cheap so that’s what i suggest. structural-epoxy will work fine but it’s expensive. urethane glue is great but, again, more expensive and much messier. hide glue is unethical, messy and cumbersome to work with so avoid that unless you really want the ghosts of dead things to haunt your plane. don’t use quick-epoxy or grain-based glue (rice, corn) because they’re just not strong enough for the application. be patient. pva takes a few hours to dry but it’s worth the wait. for the pin, you can use 8mm dowel but i suggest something stronger. a steel or brass pin works well and you can likely find one for almost no money – this pin takes a significant amount of pressure when you adjust and use the plane so a strong pin is less likely to wear out and it’s hard to replace it once the plane is glued together. there are ways to build the plane with an easily-replaceable pin but those methods have other downsides. you’ll also need material for the sides. these are nominally 320x64x8mm and will be trimmed to length when you shape the plane for your hands at the end to get a 310mm-long plane.
in terms of tools, you need a saw, a ruler, a protractor (or some other way to find angles) and, of course, a pencil (mechanical unless you really feel like going old-school, which is inadvisable in the shop). you’ll also need sandpaper of various grits. i suggest 120, 180, 220 and 320. beyond that is unnecessary for a tool. to finish, you can use anything you like. i generally finish shop things the same way i finish indoor projects – four or five thin coats of shellac rubbed on with a cloth. just remember your saw has to be able to cut all the way through a 54mm piece at an angle so if you’re using a backsaw (like a dozuki) you may not get all the way through the cut from one side. that means flipping the piece and sawing from the other side or using a bigger saw (like a ryoba or kataba). a western-style carcass saw will work fine for this project, too. unlike other plane methods, you won’t need a chisel for this project or – thankfully – another plane. there’s a caveat to that. you can sand your boards to prepare them but i suggest you use a plane for this if you have one. if you don’t already have a plane, though, you can seriously prepare all the stock with sandpaper and it’ll work – slowly. even if you just have an old plane that doesn’t work well, it should be fine to get you close for this and the rest can be refined with sandpaper once your components are cut.
let’s begin.
cut your 8mm-thick side pieces to 320x64mm (long grain along the long edge). prepare your center stock at 54x64mm then cut three pieces from it. the toe should be at least 200mm-long with a 70-degree angle on one end. the heel should be 110mm-long with a 55-degree angle on one end. the wedge should be made from the offcut that’s the same width and it should be 200mm long with a 10-degree taper, starting from 3mm-thick at its thinnest point. the angle doesn’t have to be exact. don’t go over 15 or under 8 or it won’t stay in very easily.
cut the slot for the thumb-screw in the heel (it should be about 7mm deep and 20mm wide but thumb-screws vary so size it to yours so there’s plenty of clearance – this shouldn’t touch and it’s just to give it room to slide so too-big is totally ok). cut this to about 20mm from the bottom of the heel (again, accuracy isn’t important as long as it can slide freely). clamp the whole thing together with the iron, chip-breaker and wedge in place. draw a line along the wedge. unclamp it and drill a 4mm-deep hole in each side 2-3mm closer to the heel than the pencil mark (to add pressure when the wedge is inserted next to the pin – if you put it on the line, the wedge won’t work and you’ll need a thicker wedge, which is fine but it’s nice to not have to make a new one – if you get this wrong, though, and there’s too much space between the chip-breaker and the pin in your final glueup, that’s ok – you can always just make a thicker wedge). sand and smooth all your parts at this point. they’ll glue better and it’s easier to sand things before they’re inside-surfaces.
now apply glue to the sides of the center pieces and clamp the sides in place. you want a very small gap between the toe and heel. enough you can fit your plane iron through it with almost no extra space. if you make this too small, you can always use sandpaper on a popsicle-stick to clean it up and make it wider. you can’t make it smaller – wood can only be taken away. if you’re worried about it, make the gap about 2mm and widen it after it’s glued together. clamp the whole thing together – don’t forget to clamp top and bottom, front and back to make sure it doesn’t slide while the glue is drying.
once it’s glued together, you can shape the whole object together. flush the ends and make sure it’s the length you’re aiming for (310mm is my target but you can change that to anything you like). round the top of the heel and toe – i suggest rounding them quite significantly but this is going to be in your hands so make the rounded edges fit the size of your hands. i use a circle with a radius about 40mm as a guide for how round i like it but it’s your tool so you can do whatever feels best. this is aesthetic, not functional.
do your final sanding, including making the mouth (the space between the heel and toe) the right size for your iron to stick out the end – it should only stick out just enough to feel, not several millimetres. this is a smoothing-plane, after all, and you’re aiming for very thin shavings. once the whole thing is smooth and you like how it feels in your hands, apply finish (thin shellac is wonderful for this because it’s protective and dries in only a few minutes between coats).
sharpen your iron and make sure it matches well with your chip-breaker (i’ve written a few articles and there are many, many videos on youtube by james wright, rex krueger and others about preparing irons and chip-breakers for use so go watch a few if you’re not clear on the process), stick it in the plane and tap your wedge in place to hold it. to adjust the iron, tap the end of the iron then tap the wedge to tighten it and lock the whole thing in place. to retract the iron, tap the heel (the face of the heel, not the top) – there are other places you can tap the plane but i find this the most effective in practice. use a small plane-adjustment hammer – a heavy hammer will just damage your plane and iron. try it out on a few boards and adjust the iron as needed with your hammer. now you have a smoother.
thanks for following along with me. i hope that’s been useful in your quest for a new plane!
click here to download (for free) the diagrams and basic build plans.