there are many sticky situations in life, stressful times like starting a new job or meeting your partner’s parents for the first time. undergoing surgery or starting a new drug that could fix a major problem with your body but might send you to hospital with the sideeffects. know what’s not supposed to be stressful? woodworking.
it’s your hobby, right? you spend all day working and watching the clock thinking you only have six more widgets to make at the factory before your boss puts down the whips and chains and you can escape to the sanctity of your shop and wash away the tension of a day full of clients and deadlines (and bears — oh my!). no, your job might not be that awful. i’m a teacher. it’s an awesome job. i help people all day. they learn shit. it’s the best job in the world. but it’s extremely stressful because there are expectations — that’s where most stress comes from. expectations and anticipation. what’s going to go wrong. because it will. i guarantee you — if you work with students, there are two constants. one is some will love you and others will hate you but few will be indifferent. the other is in any class someone will find a new way to shock you by being so much more stupid than you could possibly have imagined and make the one mistake you didn’t foresee. if you teach people to use tools, this can be an unmitigated disaster involving blood and hospital trips. thankfully i’ve never had to take a student to the emergency room from a shop accident but that’s only because i’m hypervigilant, as far as i can tell. it’s certainly not because they’re not actively trying to do things in the most dangerous way — they simply don’t know better yet and if we made them do five years of theoretical work before they got their hands on the tools nobody would ever pick up a chisel or turn on a tablesaw.
then i come home and i have four joys — writing books, hiking alone in the forest and composing music are the first three. then there’s making stuff. from wood. and i suspect you and i share that one, though perhaps not the others. if you have a workshop and you’ve done any reading or watching about the craft, there’s a phrase that comes up over and over and every time i hear it i want to slap someone — “stressful glueup”. it’s got various other versions — “brutal”, “intense”, “tense”, etc. these are words to describe things you don’t enjoy because they’re emotionally traumatic in the moment. so why are they making an appearance in the shop?
let’s take a typical glueup experience and see where the stressful part comes from. cause if it’s actually stressful and i’m full of shit, i should probably go back to the drawing board and write about dovetails or something. i’m not, though. well, not about this. there’s other shit. that’ll show up eventually, i’m sure.
step one. you mill your parts, cut your joinery and prefinish your parts.
oh, right. prefinishing your parts. you did that, didn’t you? are you using shellac? oh, come on. i’ve been through this so many times i’m sure you’re used to it by now. when you get your parts ready, sand them (yes, all the way to at least 320 or 400) and finish them with at least one coat of shellac except the joinery. every time. a washcoat of shellac is a basic minimum for all parts being processed in my shop. if it’s the inside of a piece, it’s going to get its full finish at this point. actually, unless it needs to be sanded flush after glueup, which is only ever going to apply to the outside, i’ll finish it completely at this stage. let’s say that again so it sinks in. finish your parts before you even contemplate applying the glue. the only segments that shouldn’t have finish on them are the joints where the glue will go.
this has three benefits and all three would be worth the effort even without the other two. first, the easiest way to finish the inside of a piece is to finish it before it’s inside anything. this saves a huge amount of time and complexity. second, the easiest way to sand a corner is to sand it when it’s not a corner. what, you’re not sanding your pieces? abrasives on flat surfaces like sandpaper are the most traditional finishing technique. you thought it was a chisel, later a plane, didn’t you? someone told you real woodworkers don’t use sandpaper. bull. shit. they’ve been using fine abrasives to finish wood (and stone tools, for that matter) since prehistoric times. long before anyone figured out how to forge a chisel or seat that thing in a plane, they were using crushed organics and fragmented sand adhered to flat surfaces to smooth and burnish things. the only older finishing technique was … er, not finishing it at all. and i don’t mean intentionally not finishing it for effect. i mean ignoring the fact it’s raw wood and letting it just rot in the elements.
let’s take a short trip down my sanding-process tangent. when i get something at the right size and the joinery is cut, i use a random-orbit sander to sand it through 120, 150, 180, 220, 320 and maybe 400. i clean it with a dry microfiber cloth after 220 and (if i’m using 400) after 320, too. but there’s an intermediary step and some people will say this isn’t necessary. and sometimes it’s not. but it usually is, especially if you’re using kiln-dried wood that’s hyperreactive to moisture change. after 120, i wet it. no, i don’t dunk it in a fishtank. i just spray some water on it and leave it for a few minutes. it gets fuzzy. the grain edges swell and it gets puffy on the face in particular. then i sand it again to 120. and if it’s an important piece, which they usually are, i spray it again and leave it another few minutes and repeat this. after 120, though, i go on with my count. don’t skip grits. there are some technical reasons for this and they don’t actually matter. you can go from 120 to 220 and it’ll work. the 220 really will remove the 120 scratches but hot damn you’re going to be there all day making it happen. so just use all the grits and you’ll save time and put far less stress on the sandpaper so it’ll last much longer — and with the cost of sandpaper that’s a good thing. after 320/400, i apply my first coat of finish, almost always a washcoat (light, light, light) of shellac. when that’s dry (it only takes a few minutes), i sand with 320/400 and apply another coat. sand between the coats. after the last coat, whether this waits until after the glueup or is done before, i use either steel-wool or even finer sandpaper to get the finish right then clean with a microfiber cloth. you don’t have to clean between coats of finish with shellac — it’s self-liquifying so it will save you all that effort. 600/800/1200/2000 is perfect. you can stop before 2000 but once you start feeling your furniture with a 2000 finish on it you’ll want it on everything. it’s like touching organic glass. really. it has the warmth of wood and the smoothness of glass. it’s like nothing else. anyway, enough of that. sand that shit and smile.
oh, right. the third benefit of prefinishing. we got a little distracted there, didn’t we? the glue won’t stick to the shellac. get squeezeout? no problem. just comes right off. get glue in the wrong place? meh. just give it a little tap with a chisel and there’s no glue there. no residue, nothing to sand, no worries. so you’re actually defining the locations for the glue and the glue application suddenly becomes easy. and squeezeout is irrelevant. however much you put on, there’s no running around with a bowl of water and a toothbrush or a warm rag or whatever method you’ve been using before. just let it dry. or wipe it off with a cloth but you don’t have to be precise or anything — get glue all over the finish and it will just come off with water after everything has had time to dry and there’s no stress.
of course, i’ve already dry-fit the whole piece of furniture including putting it in clamps. every time. no, there’s no exception. if you haven’t put the whole thing together and added the clamps, you haven’t prepared for your glueup. you shouldn’t be winging it. the seat of your pants is just a place for your chair to get up-close-and-personal with your beautiful ass. it’s not a technique for the workshop. prefit every part. do the entire glueup without glue. and i’ll say this again — with the clamps. make sure they open and close and sit flat and nothing is out of alignment.
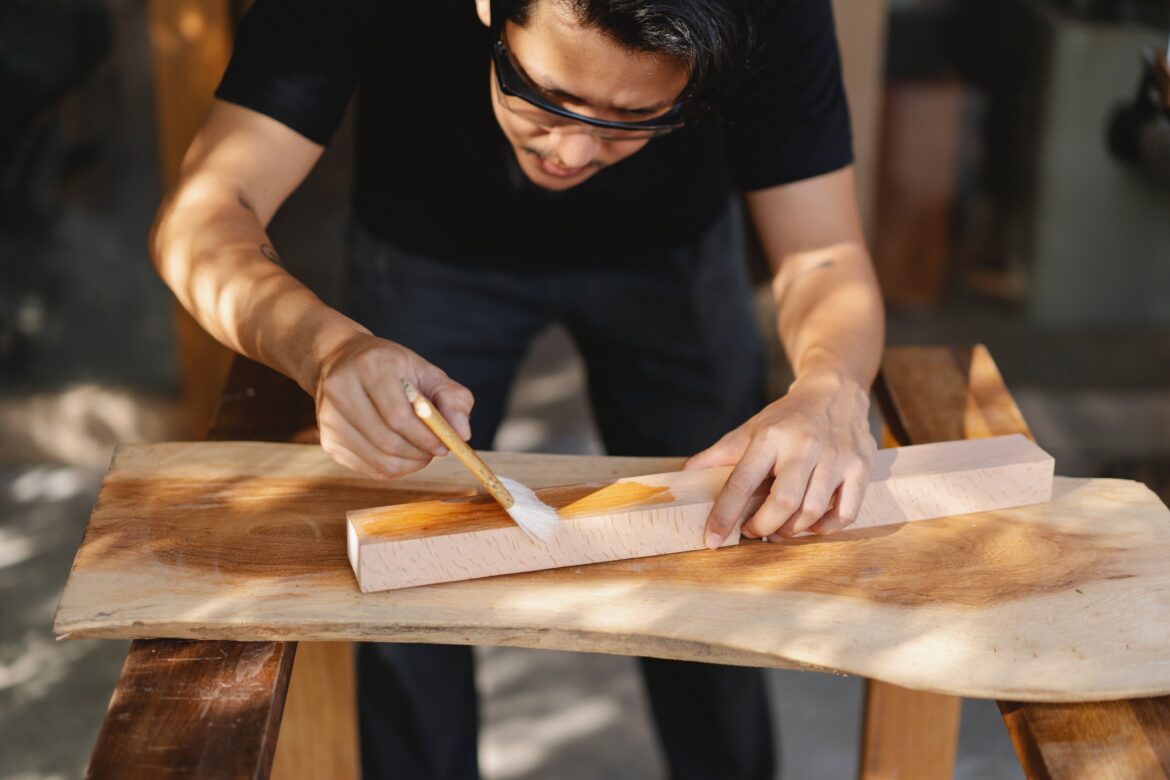
now i apply the glue with a small brush to the necessary components. i often just do small assemblies but even if i have to do them all at once i apply glue only to the joints i’m about to fit together. i can do the others just before they’ll come together. only just enough glue — i’m not trying to get them to turn into niagara falls or my fifth-grade volcano science-project. squeezeout is ok and it’s not worrisome but glue is expensive and there’s no need to make a mess. a little glue is fine. you don’t have to go all norm abrams on the adhesives — he was sponsored and you’re not getting care packages from titebond. i use a small synthetic paintbrush but you can use whatever you need. i also use a roller for large face-to-face adhesion.
there are many possible glues, by the way. but titebond 2/3 is good. i don’t generally use 1 very much but it’s ok, too. don’t buy off-brand pva because it’s usually nowhere near as strong and you’ll end up having to use so much more of it. if you’re not in a titebond part of the world, there are local high-quality glues that will work. pva is great. there’s also epoxy — west system is quality stuff and totalboat is my favorite but there are loads of high-performance structural epoxies out there for different applications. don’t use anything else. i see so many people write articles and talk about freedom and exploration and experimentation and all that. sure, if you’re into that, knock yourself out. but this is woodworking. wood glue. end of. yes, other things will work. but you already know this works and it’s fine — and it’s inexpensive. don’t tell me the cost of those other glues is worth it. and the next time i hear someone whining about the fact that hide glue is reversible, i think i’m going to take up pottery instead. yes, it’s reversible. so is pva — you just have to heat it and get it wet. seriously. you want to pull apart a pva-glued joint? heat gun or steam iron and a little bottle of hot water and you’re all set. but you won’t. neither will i. we’re not building furniture to be restored in three hundred years. neither were the people three hundred years ago. they used hide glue cause it’s what there was. we have pva now. it requires no effort, no preparation and is far stronger for wood. do you take your oxcart to work and light the candles to do your paperwork? i didn’t think so. buy the titebond. if your glue requires ritual preparation and animal sacrifice, you’re doing it wrong (that hide in hide glue isn’t of the hide-and-seek variety — something that used to say moo died for your stickiness and that’s about as ethical as … well, that’s a whole other tangent).
i tighten the clamps, check the angles and do a quick wipe if there’s any significant squeezeout, though it’s not necessary but i’m the most anti-mess woodworker who’s ever lived. then i walk away. for at least six or eight hours. that doesn’t mean i leave the shop. but it means i don’t come back and poke at it and see if it’s done or make sure it’s ok. it’s in the clamps. i’ve checked it. there’s other stuff to do — in the shop or somewhere else. the glueup is done and whatever’s going to happen is already written. if i’ve made a mistake, the thing can either be cut up and remade or burned. but there’s a thing about tears and milk that’s already on the floor and i’m not sure i understand cause, you know, torturing things that say moo isn’t my way so i’ve never spilled it. tea, though, is the source of much tearing when it hits the floor — mostly cause it’s hot on the feet. and if you haven’t made the mistake of spilling boiling tea on your feet yet, i don’t recommend it. but make your peace with the glueup. it could be a disaster. know what? it’s just wood. you love making stuff, right? have to start the project over? is it really the end of the world to have to build something a second time now you’ve learned all those lessons? didn’t you want to go to the shop again?
the next day (usually) or whenever i get a chance, i take it out the clamps and it’s done. 90% of the time, likely more, it’s awesome. sometimes there’s a problem to solve. but whatever it is, i’m a woodworker and it’s wood. i can fix it. or i can’t and i have to come up with another solution. maybe that’s cut the thing up and make a few new parts. maybe it’s start over. maybe it’s add a support or change the design a little.
stress, though? not a chance.
give it some serious thought. if you find glueups stressful, you’re probably not prefinishing or practicing them. you’re trying to do it too fast and likely gluing up too many parts when you should be doing smaller sections. here’s the thing people don’t usually seem to tell you — it’s not supposed to be stressful. if anything you do in the shop causes you tension rather than relieves it, there’s a better way. it’s supposed to be fun. that’s why you’re doing it.
yes, if you’re a professional and there are clients and deadlines to have to worry about, woodworking can be full of pressure and stress like any other job. but the glue shouldn’t be adding to it.
anyway, you may agree or not. but next time you do a glueup think about how unprepared you are, fix that problem and see if it’s suddenly a far more zen moment. when i’m gluing things together is probably the most relaxing part of my woodworking experience — no sharp tools to have to worry about slipping and cutting myself with, which we all do on occasion. no potential for tearout or cracking that thin edge with a misplaced swipe of a plane. no slightly-too-far-in-the-mortise with the chisel and ruining a piece. it’s done, sanded, finished and i just have to watch it come together. it’s a beautiful thing. change your perspective and everything is chill. thanks for reading!